
hello crafty folk! hope u r having a wonderful day ! today im on the blog to share a projevt i did for my mom on this mothers day ! this is an alter art project converted to a accordion box to keep safe all special memories close to her heart intacked in this adorable tag bog.
here is the first treaser !


 the top view of the project ! all from the same paper pack !


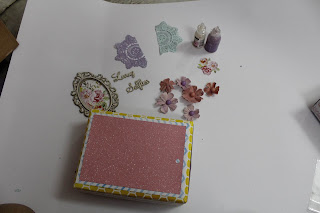
 gearing the supplies !
i have taken 2 sweet boxes and covered them like we wrap a gift using the specialty linen paper


 add the glittery sheets and starting making the layouts . i pasted the cover pic from the paper pack to the 3Dframe .
 used the sentiment sheet and made the top ,also layered some glittery sheets again .
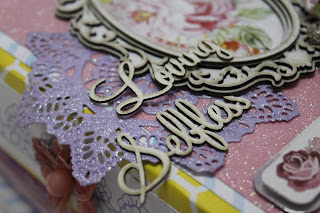
 now lets make the cover .i have used some diecuts , chippies ,flowers to make the layout .

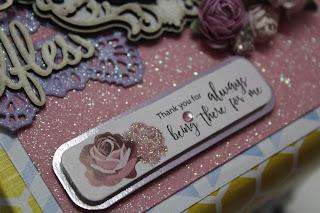
 used the fussy cut and some foiled sentiments too to finish the cover.


 make as many as u wish . 10 is a good no.
 using the ink distress the edges


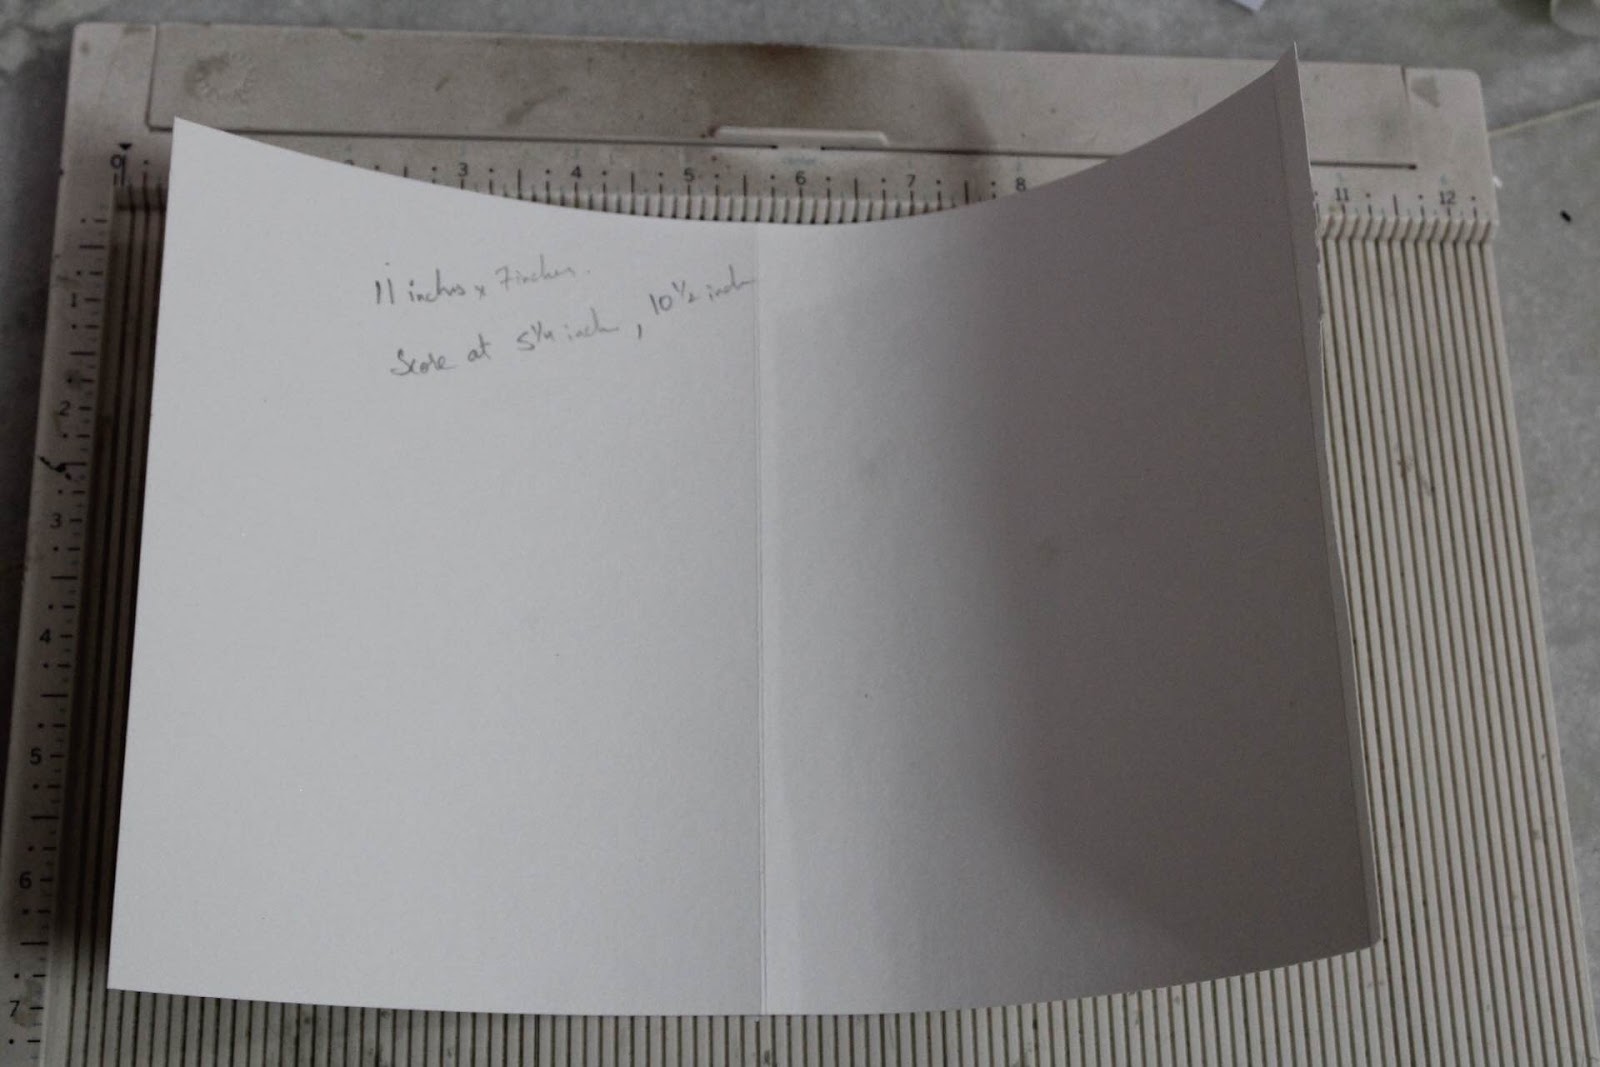
score a long sheet and do fan folds for the accordion structure . to each lift attact tacky tape and secure each pocket inside it .

 the look after attaching the pockets.
 now attach them to the box on bothe the sides one after the other .and we r almost done .u can make inserts too using any sheets of ur choice.
close it using the flower and the chain


here is the first treaser !

let me warn u guys that this is a picture heavy post combined with a tutorial.
its always immense pleasure to be doing a post for my fav company ! they really spoil u with georgeous supplies !

a foiled sentiment just perfect for the project

thanks mom for loving us selflessly ! arent the new launch chippies super adorable !

how can i finish a project without flowers !


the back view of the projects !

the accordian view (i encolosed with the flowers and some chain from the stash )

so presenting my mothers day present .
so without further delay lets begin the tutorial :
 gearing the supplies !
i have taken 2 sweet boxes and covered them like we wrap a gift using the specialty linen paper


 add the glittery sheets and starting making the layouts . i pasted the cover pic from the paper pack to the 3Dframe .
 used the sentiment sheet and made the top ,also layered some glittery sheets again .
 now lets make the cover .i have used some diecuts , chippies ,flowers to make the layout .
 used the fussy cut and some foiled sentiments too to finish the cover.
start making the pockets (not any specific measurements but yes remember it totally depends on ur box"s measurement )


 make as many as u wish . 10 is a good no.
 using the ink distress the edges


 the look after attaching the pockets.
 now attach them to the box on bothe the sides one after the other .and we r almost done .u can make inserts too using any sheets of ur choice.
close it using the flower and the chain


attach legs on 4 sides and we have our gorgeous box ready !

hope u enjoyed reading ! thanks for ur patience
love Rashmi
the list of supplies :
glitzy pastels
tacky tape
scrapbooking glue
lamour paper pack
3D chippies
chippies
flowers


